iPubsoft Studio provides
Professional PDF Converter, ePub Creator and iPad/iPhone/iPod Tools
Steps for Transferring Data from iPhone to Computer
Now that you have fantastic videos, music and pictures on your iPhone, wouldn't it be nice if you could get that media files onto your big screen computer? Well, that is possible if you use our iPhone to Computer Transfer. What you need to do is just connecting your iPad to the PC's USB port and the program will do the rest job automatically for you. Follow the step-by-step guide below to learn how to transfer files from iPhone to computer.
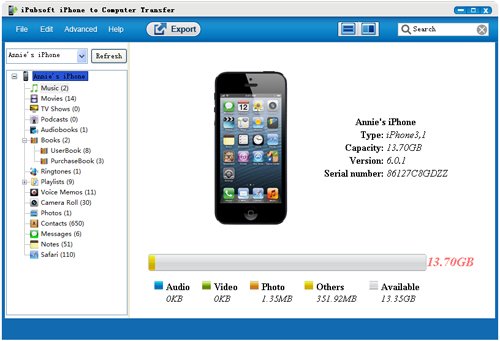
1 Run program and connect iPhone to computer
First of all, you should download and install iPubsoft iPhone to Computer Transfer on your computer, launch it and then link your iPhone to this computer via the USB cable. Once the connection is successful, the program will recognize your device and show all your iPhone content in categories in the left column of this program.
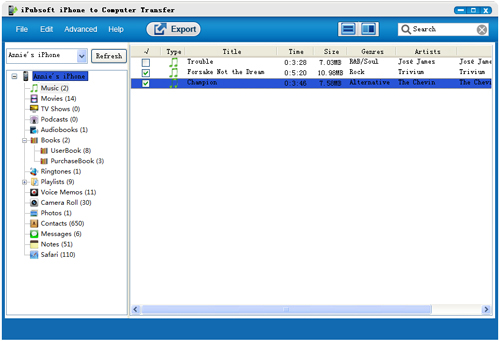
2 Check the files to transfer
Navigate to the left of the program and choose the files you want to transfer to your computer by clicking the corresponding folder. For instance, you can open the music library and check the music files you need by hitting on the "Music" folder.
3Start transferring iPhone to PC
Now, we are arriving at the last step, you can simply click the ![]() icon on the top menu to kick off the transference from iPhone to computer. You are allowed to right-click on each file and choose "Export Checked" so as to transfer specific file to computer.
icon on the top menu to kick off the transference from iPhone to computer. You are allowed to right-click on each file and choose "Export Checked" so as to transfer specific file to computer.
When the transference finished, a dialog box will pop up asking you if you want to open the output folder right now. You can choose Yes and enjoy the exported files on your computer immediately.
User reviews
"I love this great iPhone to PC Transfer! With it, I don’t need to worry about the file size I want to download on my iPhone. It’s very easy to use, by the way!"- by Mark from Houston
"If you have also got an iPhone, iPad or iPod, this iPhone to Computer software can totally give you a hand. I try it with my iPhone and my sister’s iPad. It does work!"- by Maria from New York
Awards

Quick Links
Free Trial or Purchase Now?


